Getting Started
Installing the eSIM is easy, while it can vary between iPhones and Android / handsets you will be taken through steps and our FAQ provide installation instructions for variants.
Installing the eSIM is easy, while it can vary between iPhones and Android / handsets you will be taken through steps and our FAQ provide installation instructions for variants.
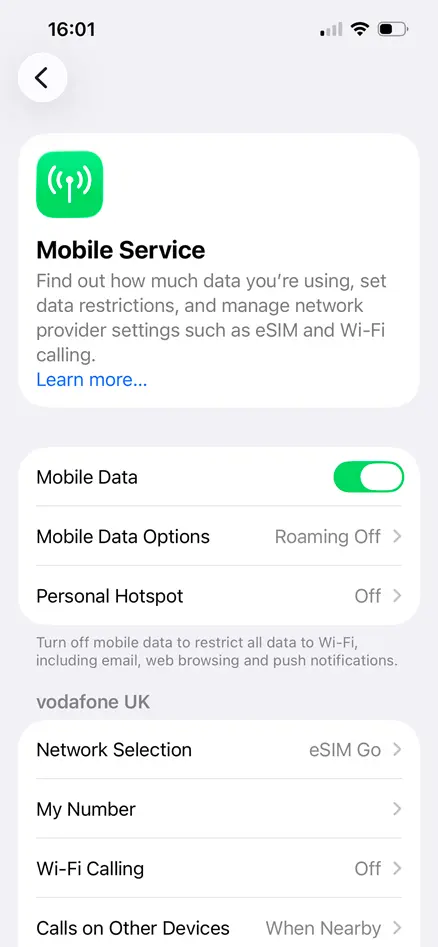
Open the Apple Device Settings and go to Mobile Services
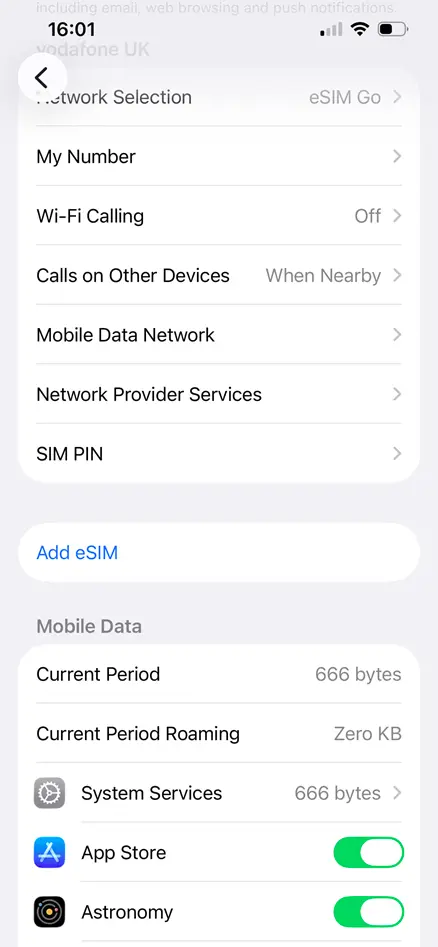
Scroll down the page to find and click on ‘Add eSIM’
From the list of option select ‘Use QR code’
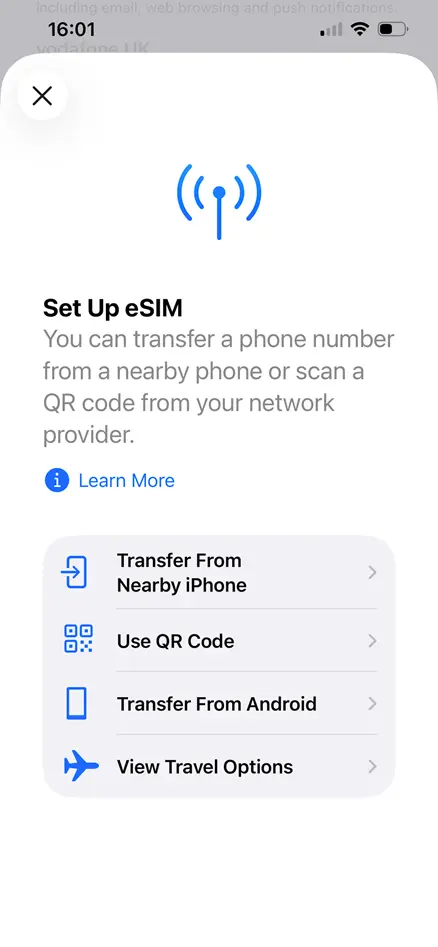
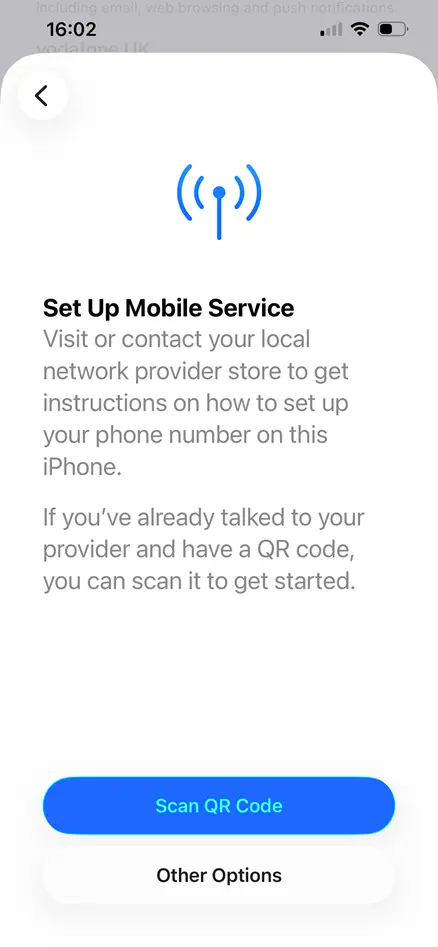
The Screen will display a new page ‘Set up Mobile Service’ and click ‘Scan QR code’
Note
Do not select ‘Other Options’.
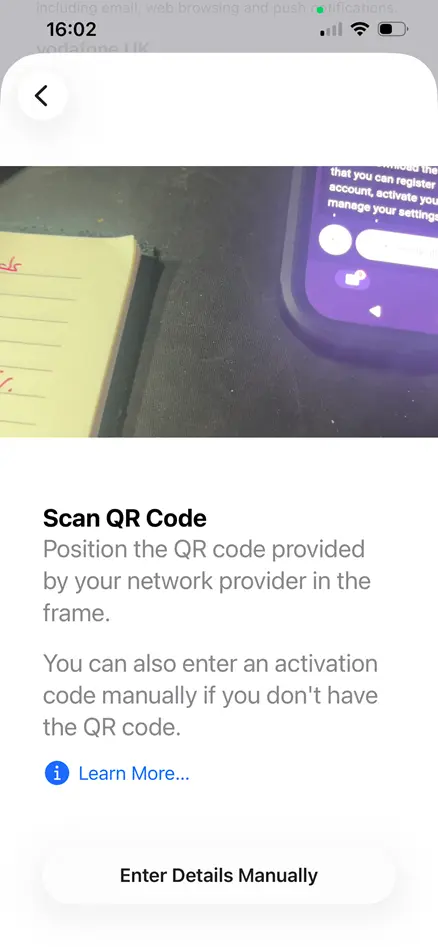
On the scan QR code screen position the phone correctly
Note
Do not select ‘Enter Details Manually’. These require you to enter Activation Code, SM-DP+ address, and Confirmation Code, which you do not have available with your eSIM.
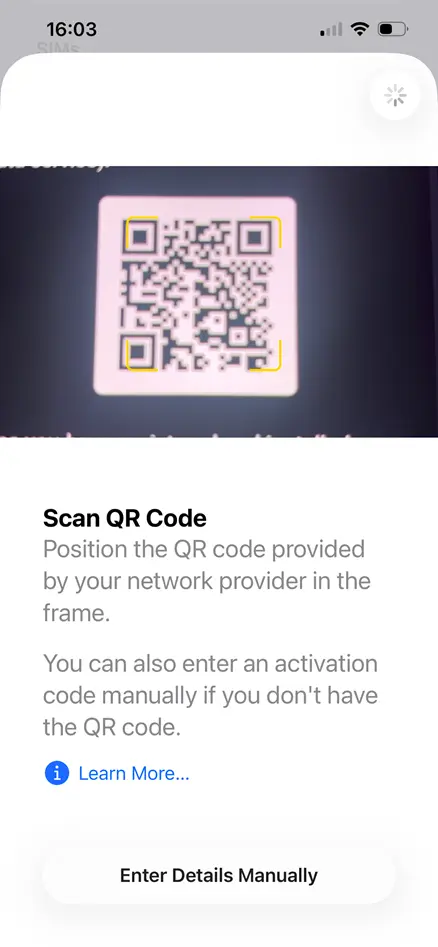
Now follow the instructions on screen and scan the QR code
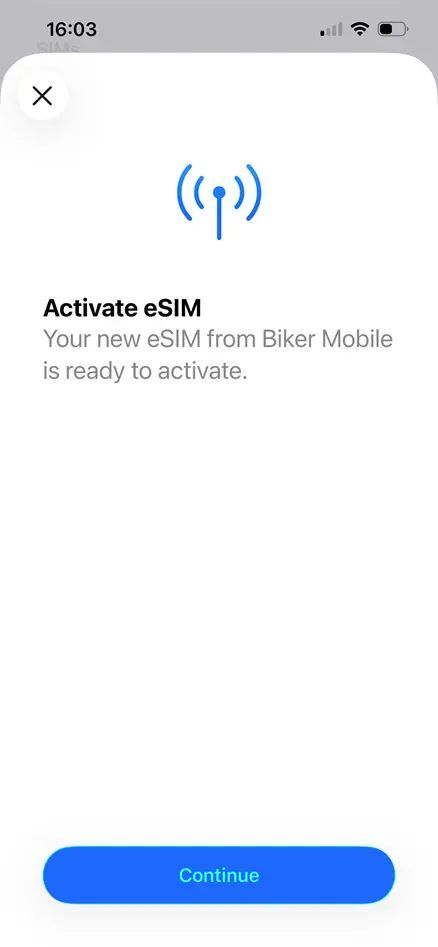
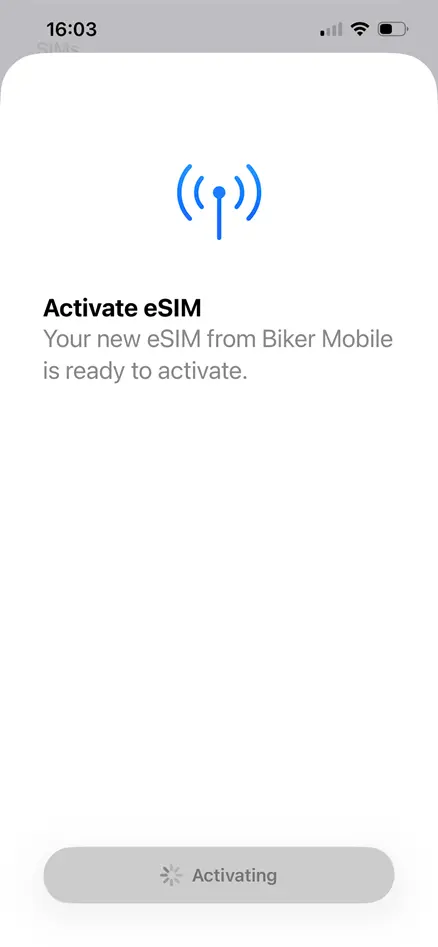
When you have successfully scanned the QR Code the screen will refresh, presenting an Activate eSIM Screen. Your eSIM from Biker Mobile is ready to activate. Press the blue ‘Continue’ button
The screen will refresh with the Lozenge becoming grey and display ‘Activating’
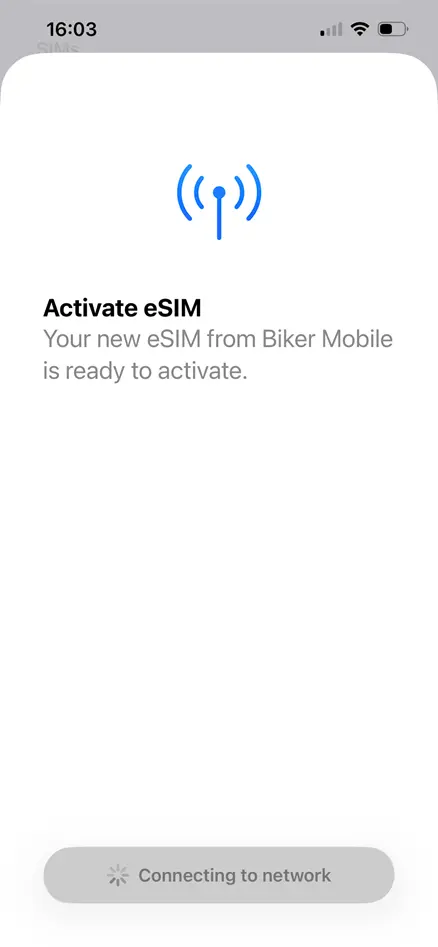
After a few seconds this updates to ‘Connecting to network’
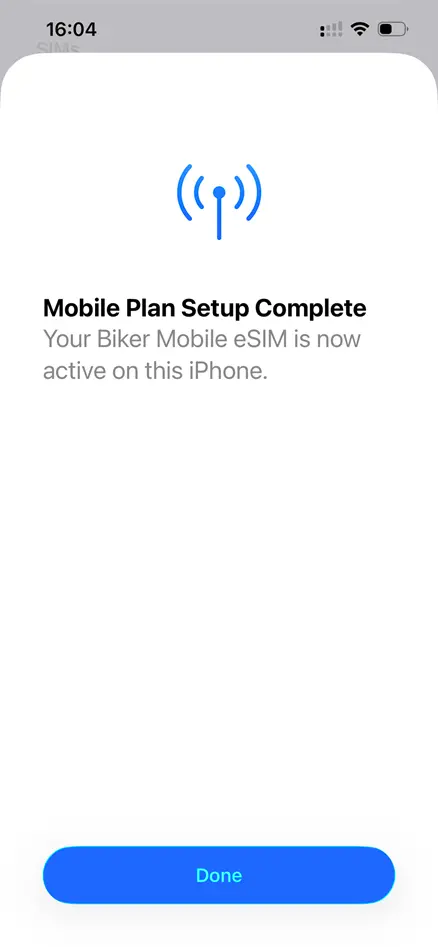
Once connected to the network the screen will refresh, displaying Mobile Plan Setup Complete. Your Biker Mobile eSIM is now active on this iPhone. Click ‘Done’
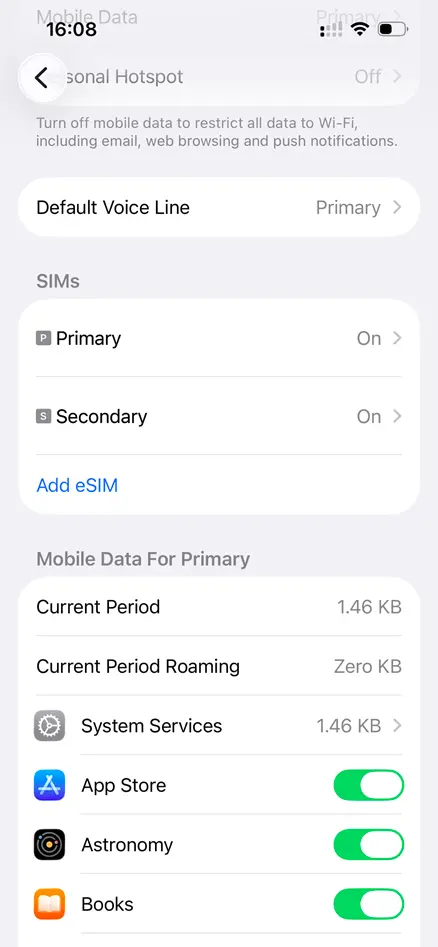
Your device will now display the Mobile Service Settings, now with an additional entry for the Biker Mobile eSIM under ‘SIMs’
By clicking on the newly listed eSIM you can change the label name and update other settings -depending whether you have more than one SIM and which sim you wish to be primary or secondary, and which SIM you wish to use for calls, Text or Data