Skip to Content

FAQs

Android eSIM installation via Settings

Getting Started

Installing the eSIM is easy, while it can vary between iPhones and Android / handsets you will be tak​en through steps and our FAQ provide installation instructions for variants.

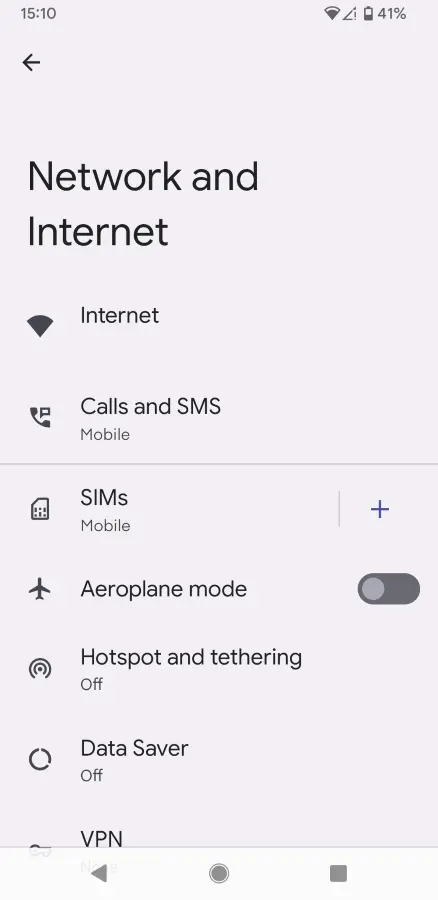
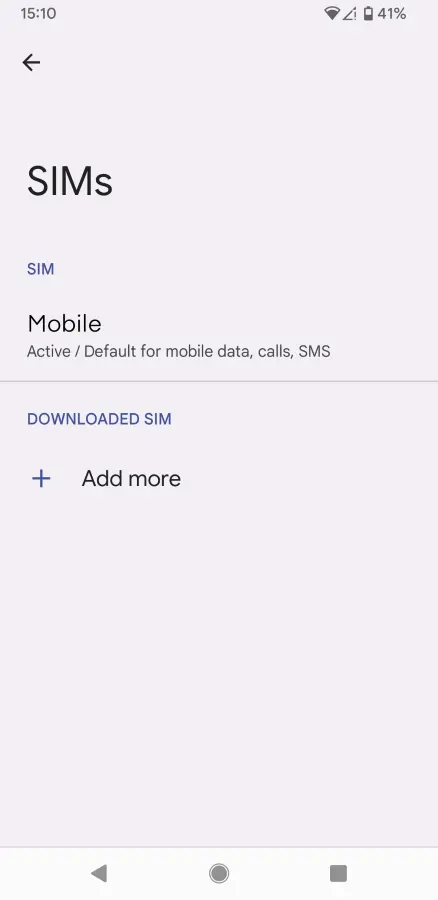
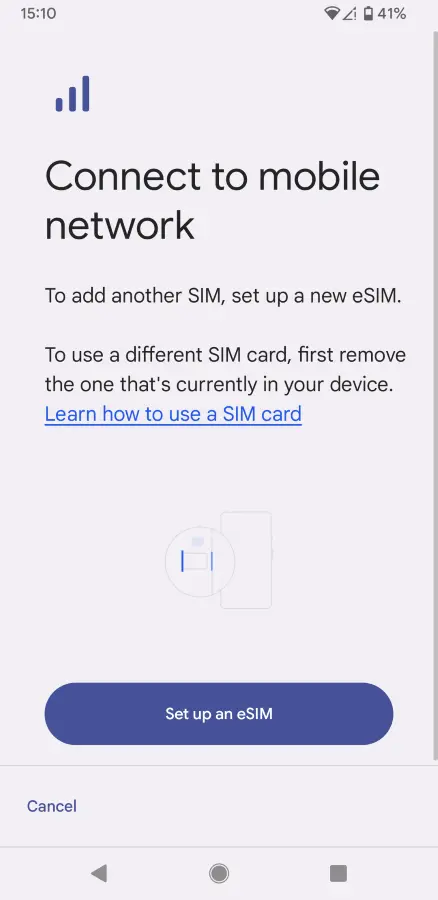
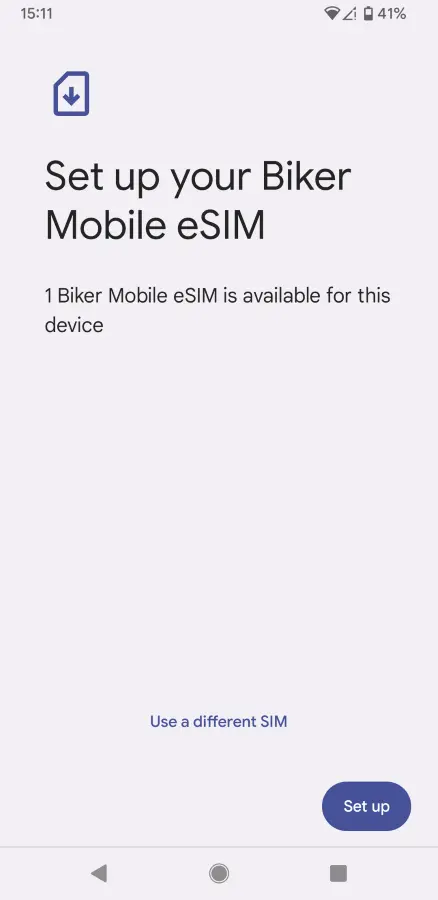
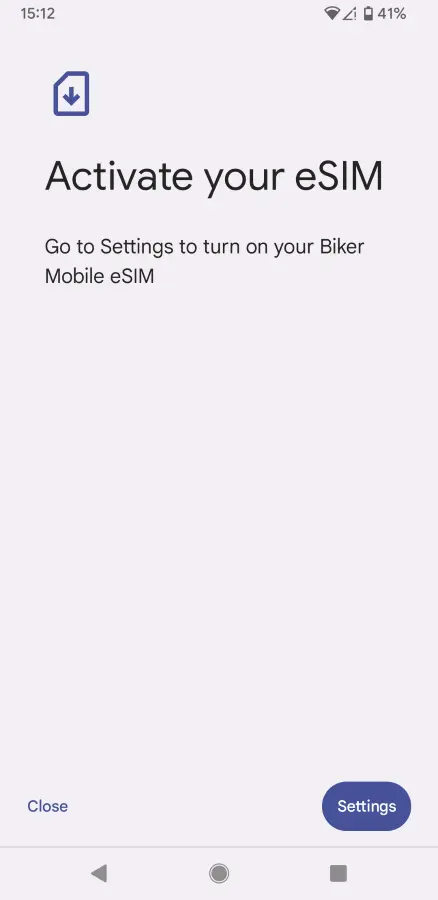
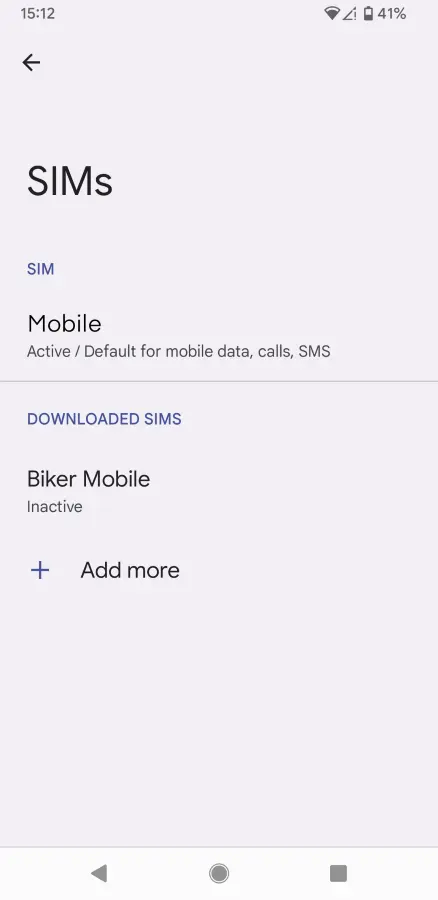
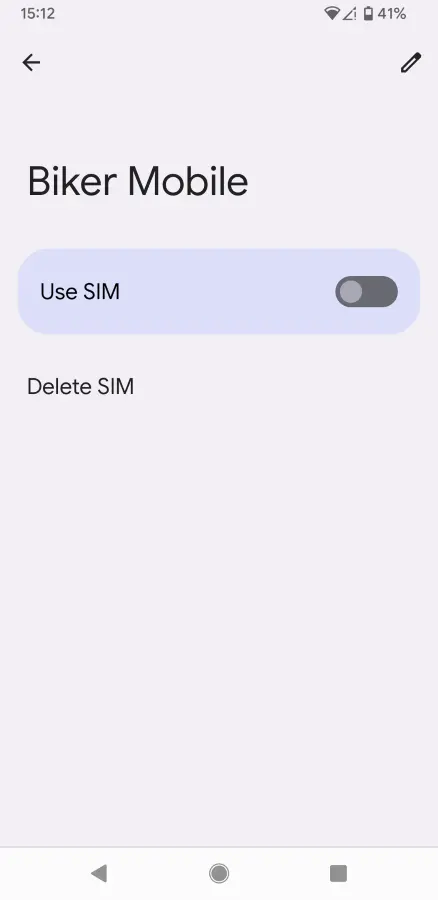
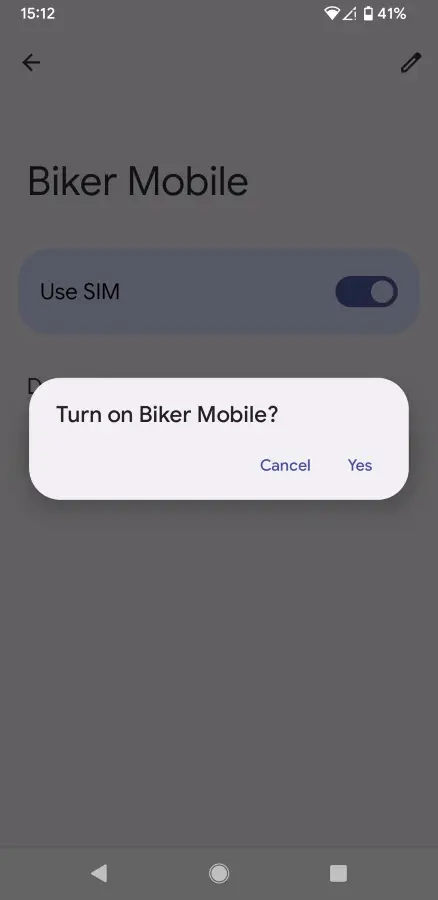
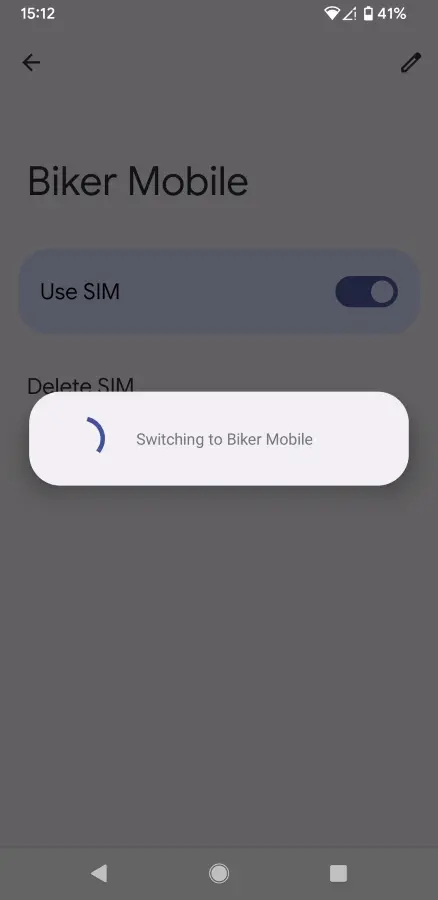
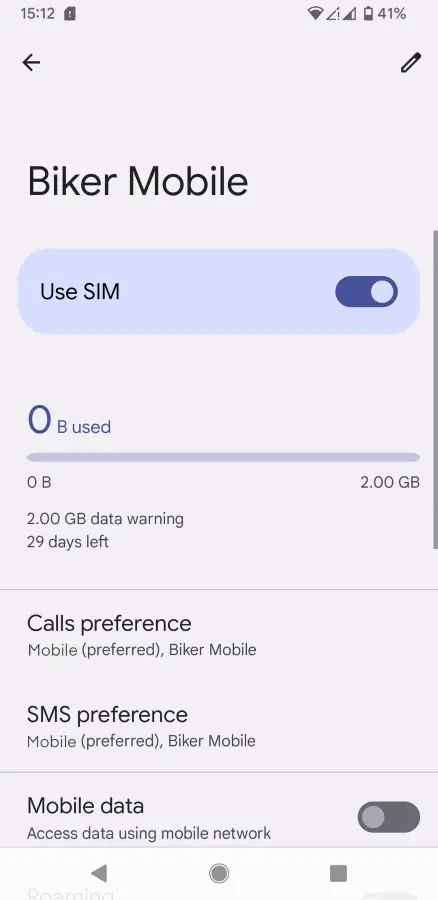
The following is the process installing on a Pixel8a through Settings.

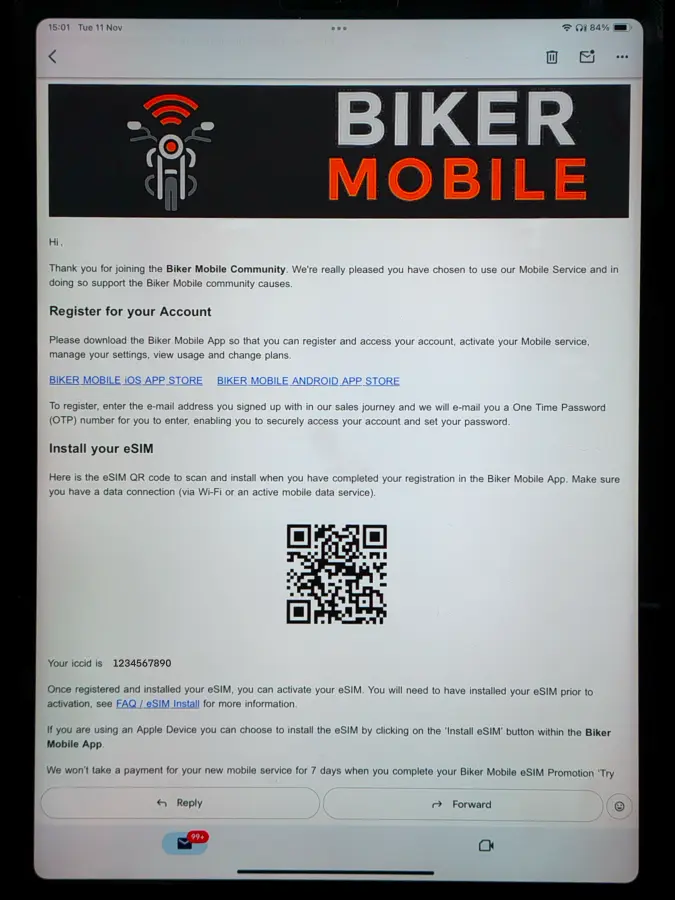
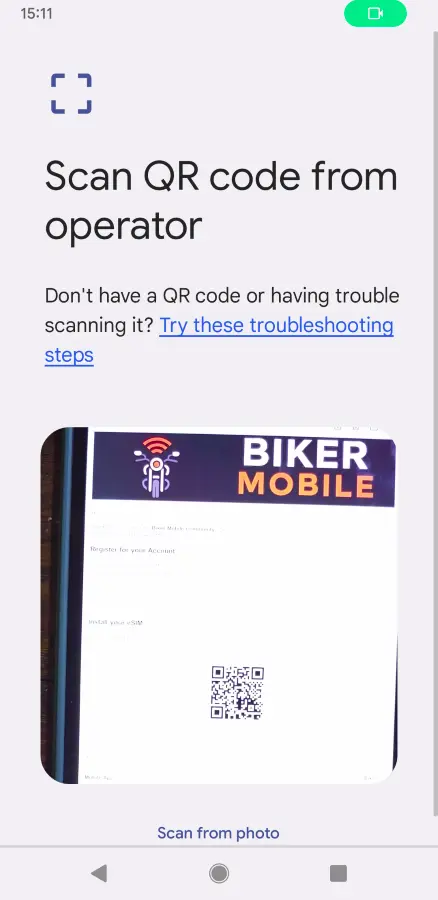
You will receive a Welcome email with details to register your account and a QR code which you will need later.

Android Settings Step 1

Navigate to Settings and open ‘Network and Internet’, then ‘SIMs’. Click ‘Add more’


Android Settings Step 2

Click ‘Set up an eSIM’. It will then use your phone’s camera and you can scan the QR code from the email​


Android Settings Step 3

This should start the connection process. Click ‘Set up’


Android Settings Step 4

Go to Settings and select the new eSIM to activate. Use the toggle to switch the SIM on


Android Settings Step 5

Once you have selected to use the SIM, it will become active. You can then also select preferences for Calls, SMS and Data if you have another SIM